Do you want to provide discounts for guests who book longer stays? With the LOS Discounts feature, you will be able to set a specific length of stay and automatically have a discount applied to qualified direct bookings.
Click the Actions button

The Actions button is located in the top-right corner of the rates calendar. Click here to open the Actions menu.
Select the LOS Discounts option

In the menu that appears, LOS Discounts is the second option. Click here to open the LOS Discounts overlay.
Click the Add button
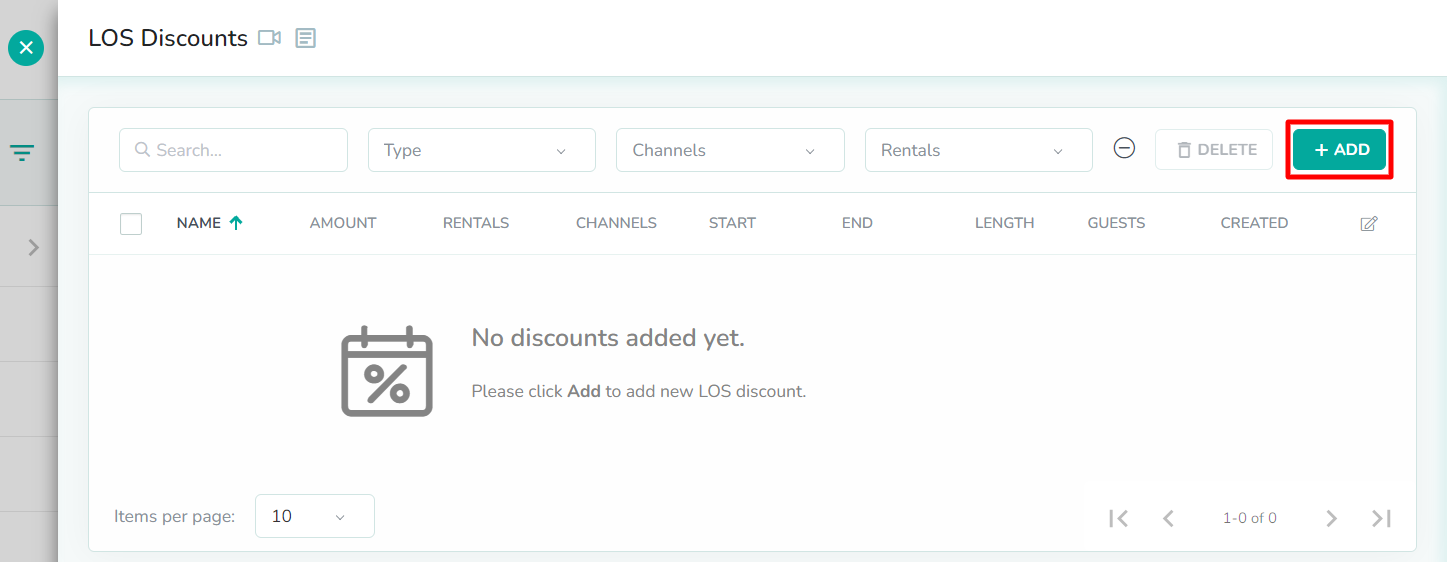
The Add button is located in the top-right corner of the LOS discounts table. Click here to open the LOS Discount overlay.
Enter the name of the discount
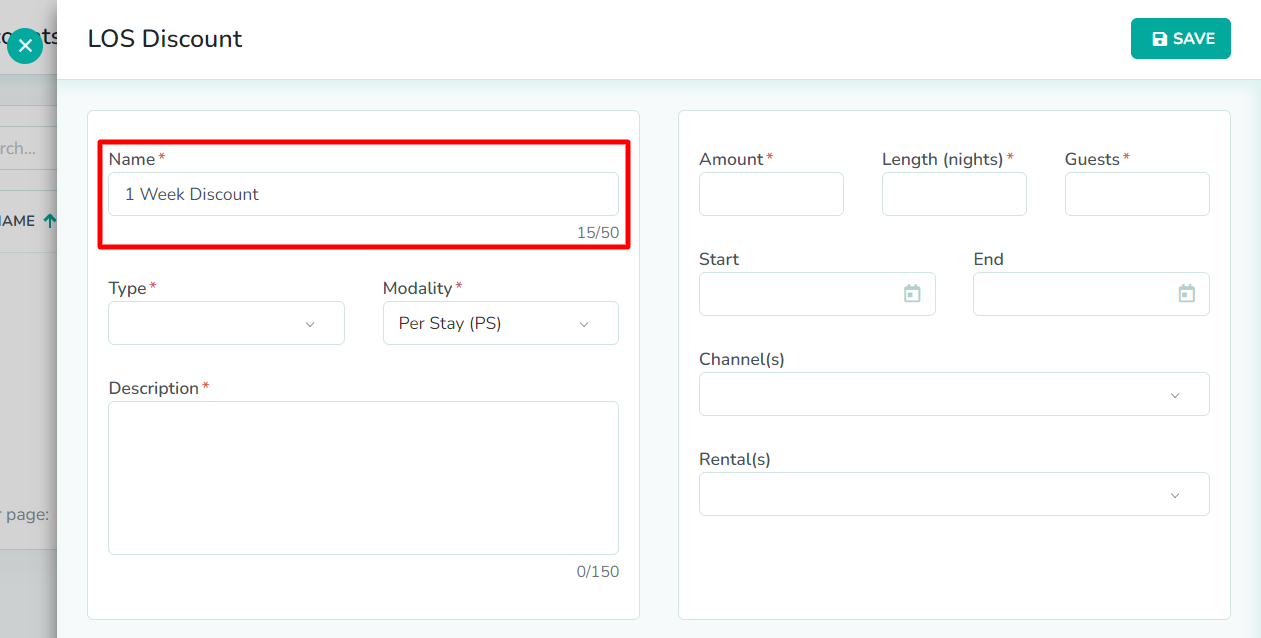
The LOS Discount overlay requires six fields to be completed. First, give your LOS discount a name. The Name field should provide you with proper context for the purpose of the discount.
In our example, we want to create a LOS discount for guests who book a stay of 7 days or longer. The name "1 Week Discount" will allow us to quickly identify the purpose of this discount. If we applied multiple filters, then we might want to add additional information to this field, in order to represent those extra details.Select the type of discount
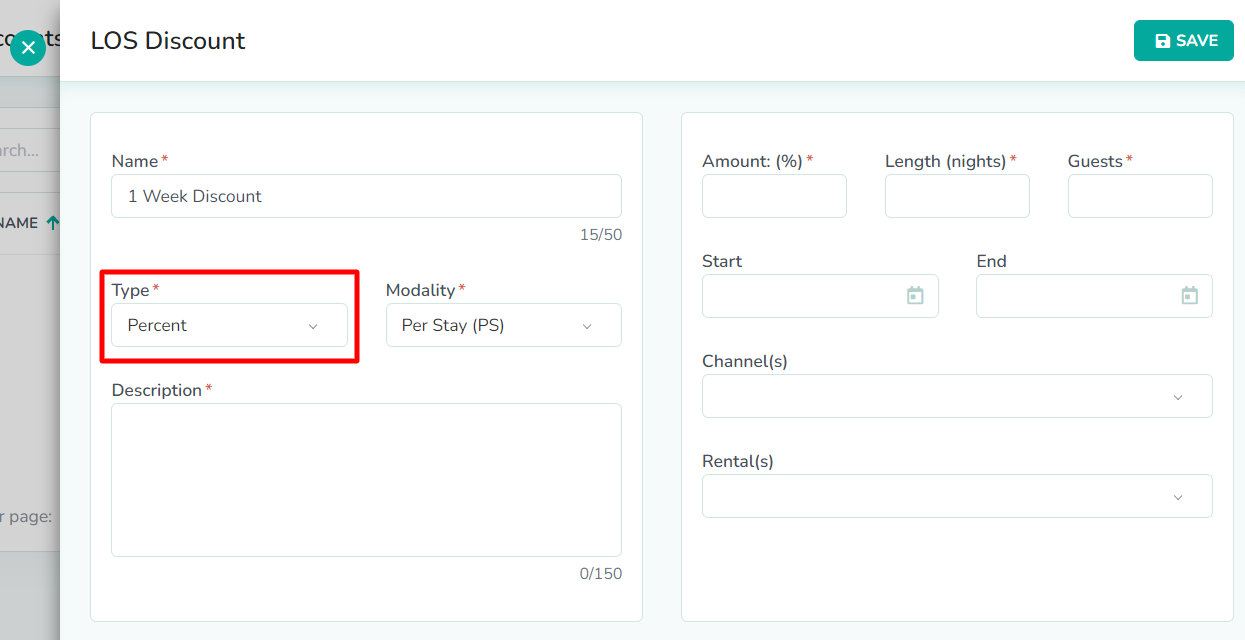
Next, the discount type will determine how the booking total will be reduced. If the type is Flat, then a flat fee reduction will be applied to the booking total. If the type is Percent, then a percentage reduction will be applied to the booking total.
In our example, we want to apply a 10% discount. So, we have selected the Percent type.Select the discount modality
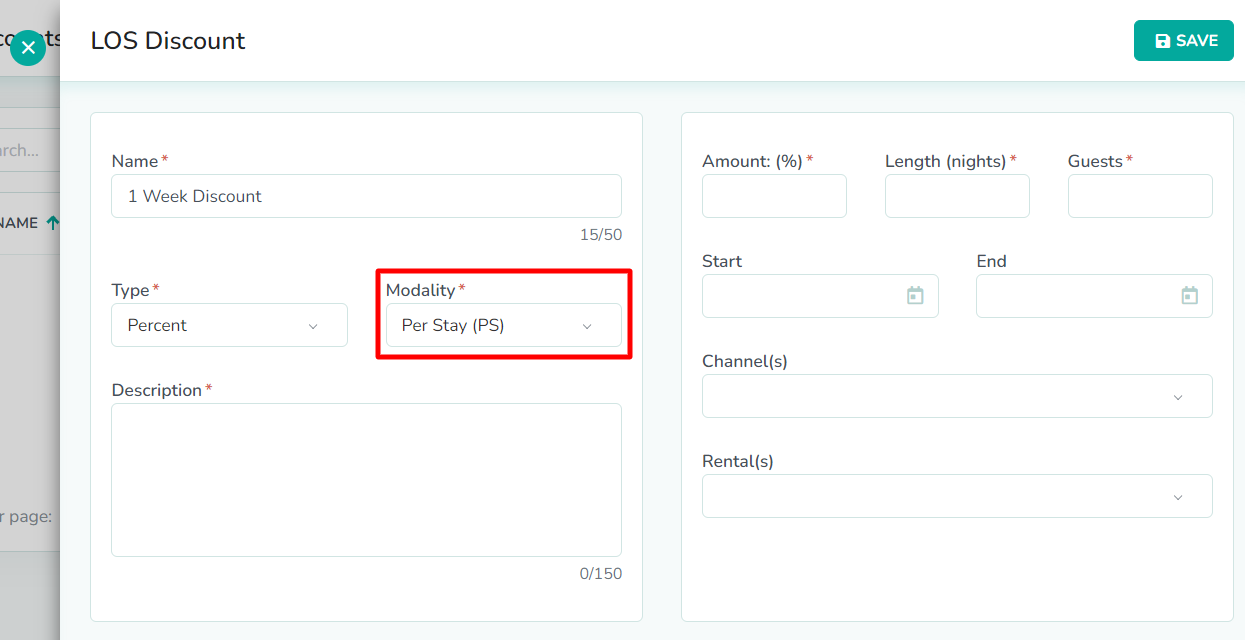
Next, the modality of the discount will determine how it is applied to qualified bookings. If the modality is Per Stay (PS), then the discount will be applied to the booking total. If the modality is Per Night (PN), then the discount will be applied to the nightly price for each booked night.
In our example, we're applying a percentage discount. Because of that, both modalities will result in the same discounted amount. So, we have selected the Per Stay (PS) modality.Enter the description

Next, the Description field is used to provide you or a team member with more detailed context for the purpose of this discount. This can be information that you either could not fit in the discount name, or that you simply chose not to include in that field.
In our example, we have added a Description that explains the purpose of the discount, as well as the specific rentals and time period involved. This means that when we come back to review this LOS discount again in the future, we will quickly understand why it was created.Enter the amount of the discount

Next, the Amount of the discount will determine the percentage or flat fee discount that will be applied to the booking, based on the selected modality. If the discount type is Percent, then this value must be a number between 0 and 100.
In our example, we want to apply a 10% discount. So, we have entered a value of 10 for the Amount.Enter the length of the stay

Next, enter the Length (nights) of the stay that will be discounted. The discount will only apply to those bookings where the number of booked nights are greater than or equal to the value set in this field.
In our example, we want to apply the discount to bookings that are 1 week or longer. So, we have entered a value of 7 for the Length (nights).Enter the guest threshold
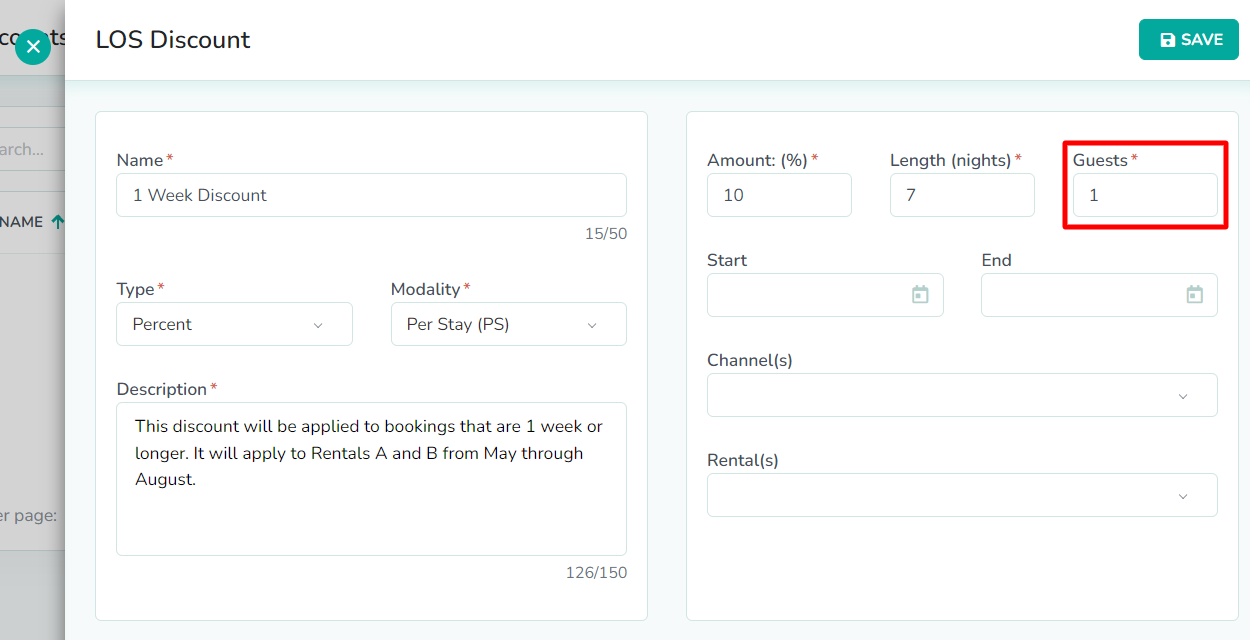
Next, enter the minimum number of Guests required in order for the booking to qualify for the LOS discount. If you want this to apply to all bookings, regardless of guest count, then you will want to set this number to 1.
In our example, we want this discount to apply to all bookings for Rentals A and B, regardless of how many guests ae on the booking. So, we have set a value of 1 for the number of Guests.OPTIONAL: Select the range of dates
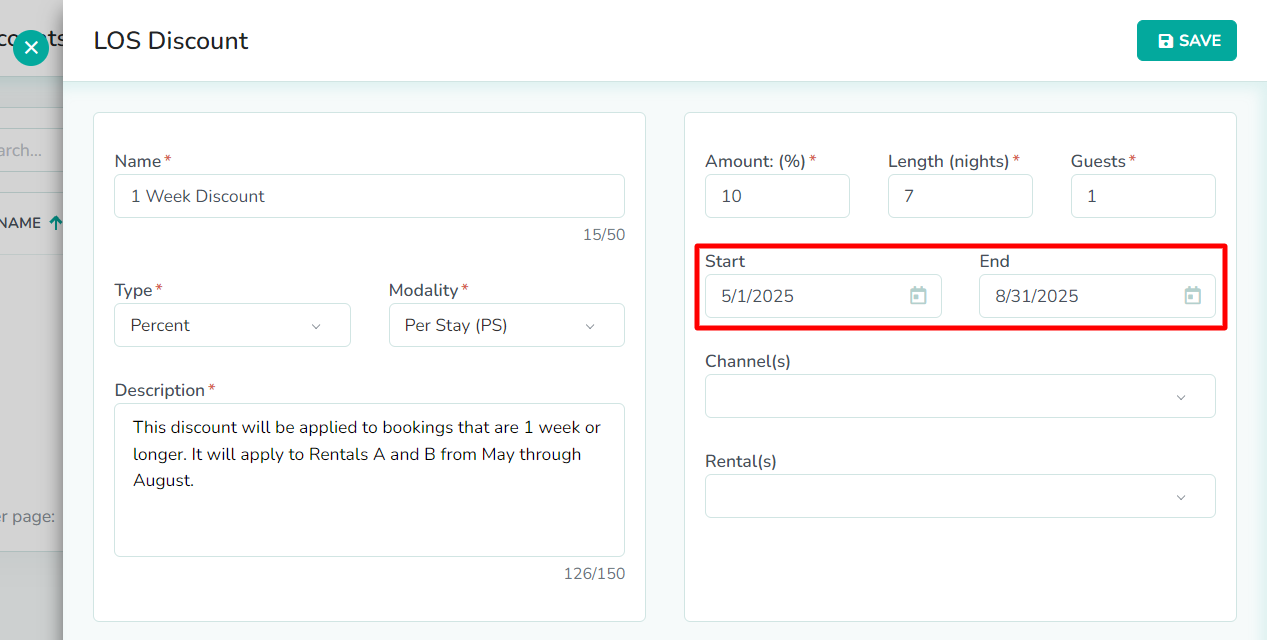
Next, if you only want the LOS discount to only apply to a specific range of dates, you can specify the Start and End dates for the time period where this discount will be available. If you want the discount to apply all year, then you will want to leave this field blank.
In our example, we only want this discount to be available from the month of May to the end of August. So, we have selected May 1st to August 31st.OPTIONAL: Select the direct booking channel(s)
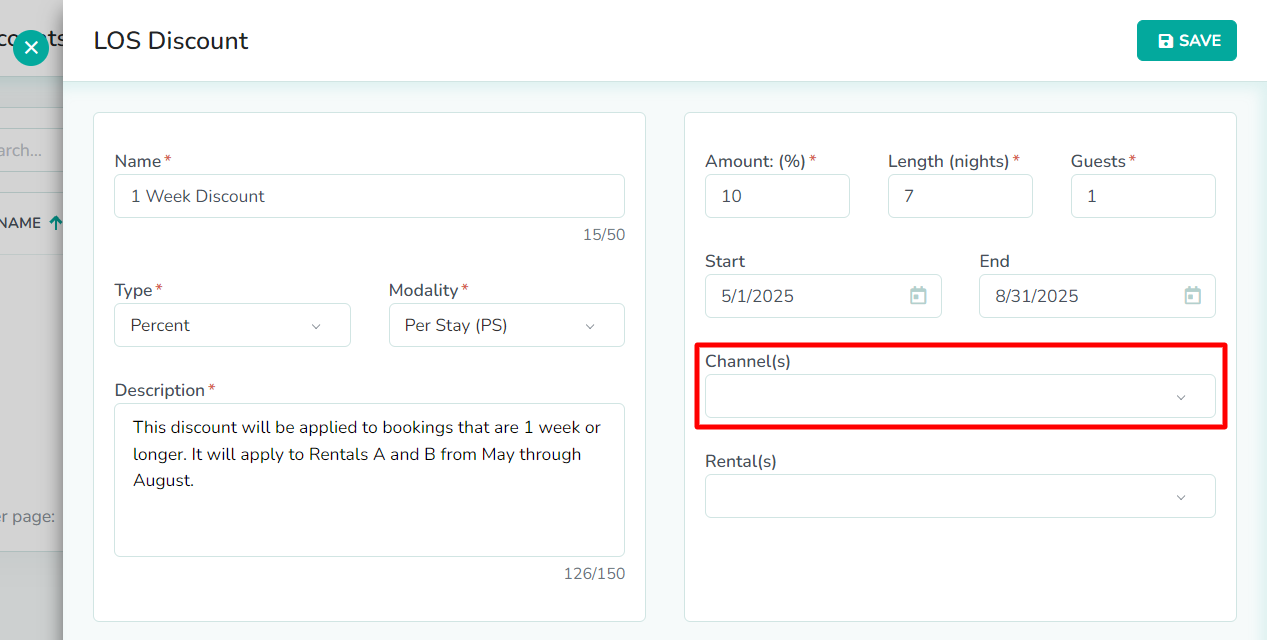
Next, if you want the LOS discount to only apply to bookings from a specific channel source, you can specify the Channel(s) with this selector. If you want this discount to apply to all direct booking sources, then you will want to leave this field blank. At present, LOS discounts are only applicable to direct bookings. As a result, you will only find direct booking channels in the list of options.
In our example, want this discount to apply to all bookings from all direct booking sources. So, we have left the field blank.OPTIONAL: Select the rental(s)
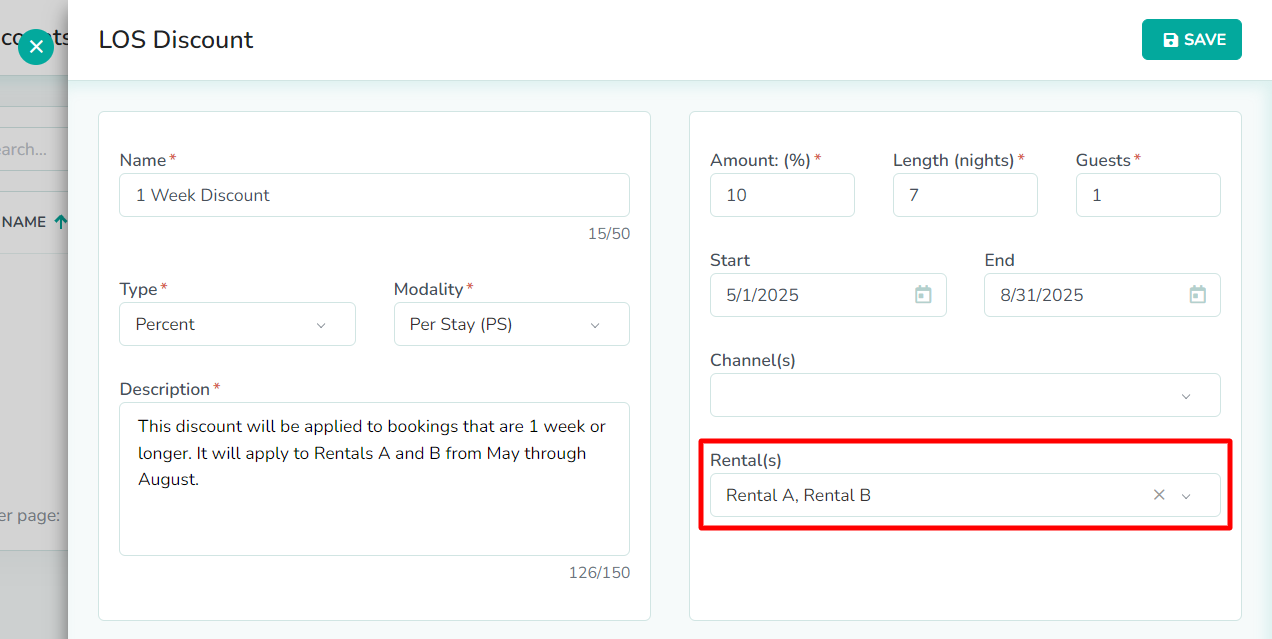
Next, if you want the LOS discount to only apply to booking for a specific rental, you can specify the Rental(s) with this selector. If you want the discount to apply to all rental, then you will want to leave this field blank.
In our example, we only want this LOS discount to apply to Rental A and Rental B. So, we have selected those rentals from the list.Click the Save button

Lastly, click the Save button to create the LOS discount, and exit the overlay. You will now see the new LOS discount displayed in the table.
 In our example, we see the newly-created LOS discount is visible in the table.
How to preview your LOS discount
Click the Preview button
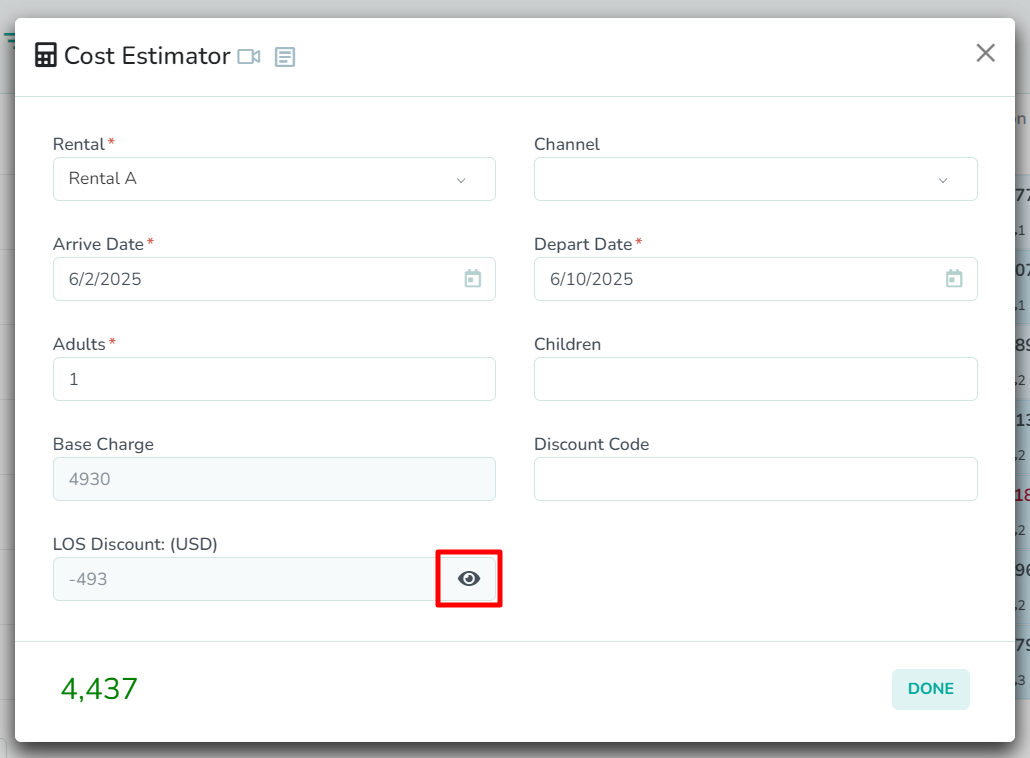
Once your LOS discount is saved, you can preview it by using the Cost Estimator. Simply open the Cost Estimator, fill in the details for a potential booking in your rental, and you can see the LOS discount that will be applied. If you are unsure of which LOS discount is being applied, you can click the Preview button to view the discount details.
 In our example, we want to estimate the LOS discount for a 9-night booking that starts on June 2nd and ends on June 10th. This is within the date range set in our LOS discount. The discounted amount is $493 on a $4,930 booking. So this confirms that our 10% discount is being applied correctly.