Adding Rentals in Rategenie

How to add Rentals in Rategenie?
Rategenie now gives you the ability to create your own rentals without the need to use any channel manager.
Here are some simple steps with which you can create rentals.
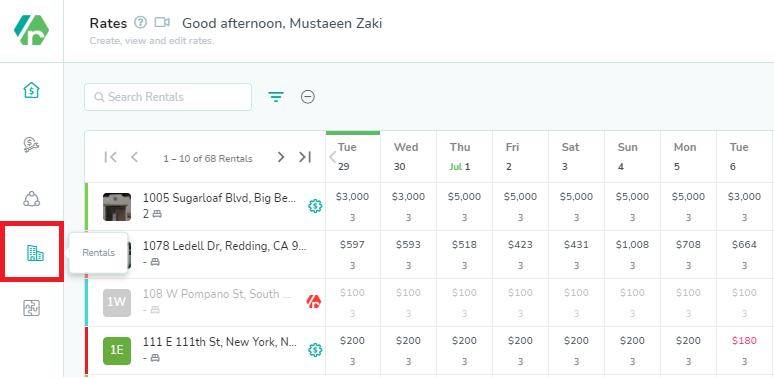
- Navigate to the Rentals module by clicking on Rental’s icon in Menu items list on the left.
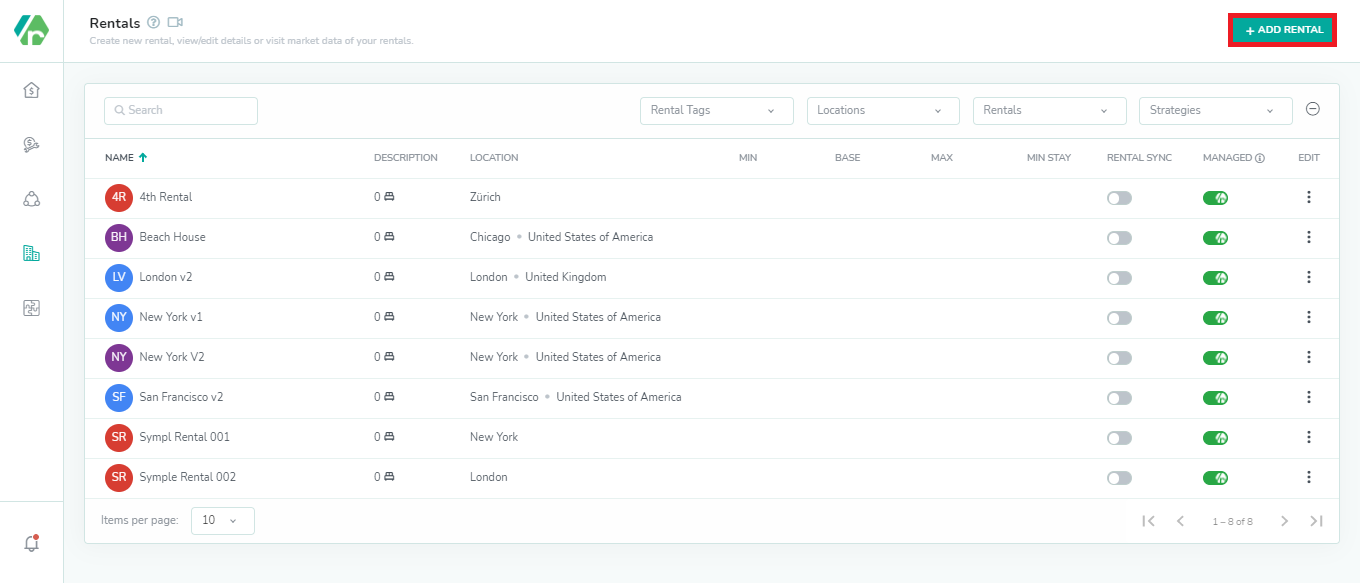
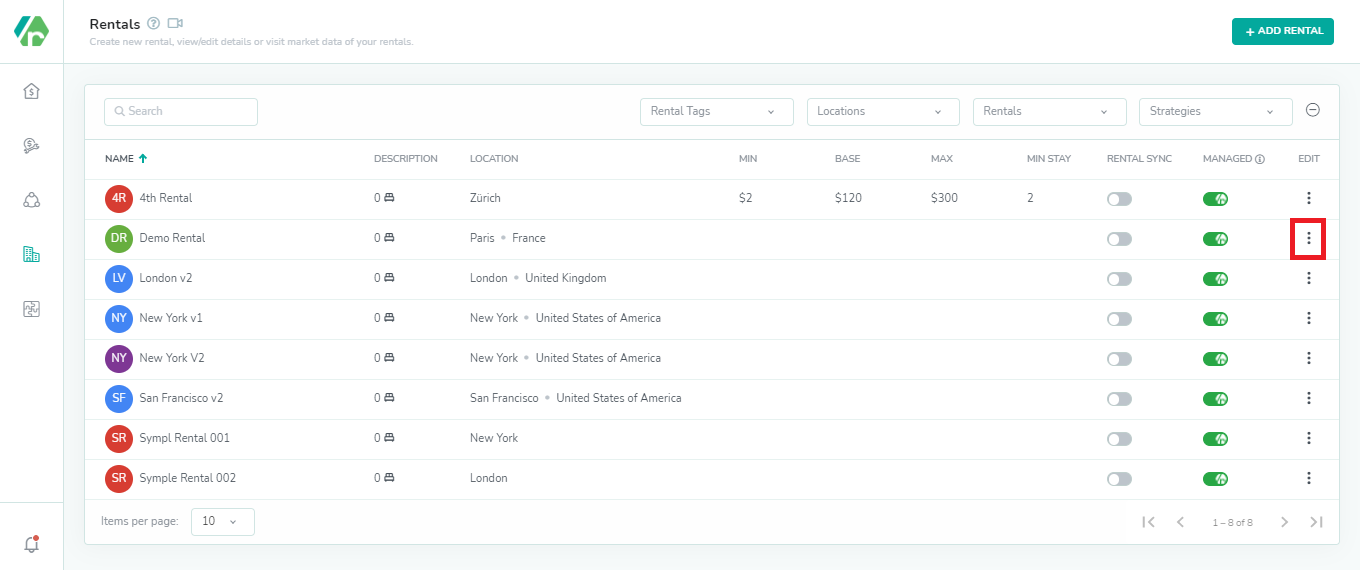
- On the Rentals module, Click on Add Rentals button to create new Rental.
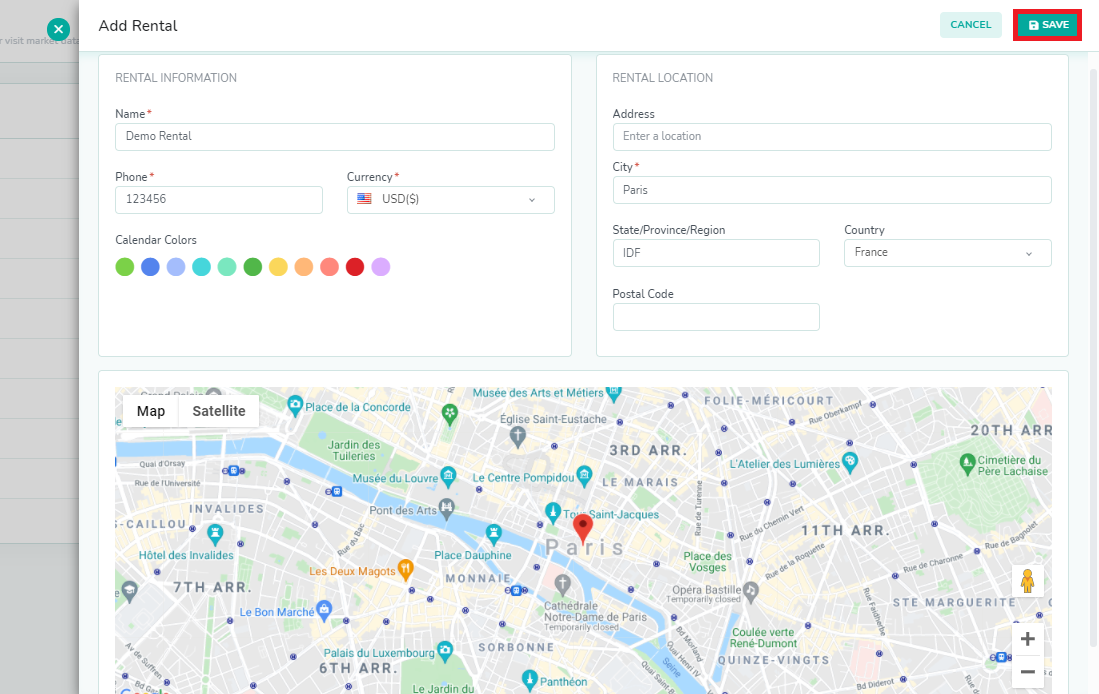
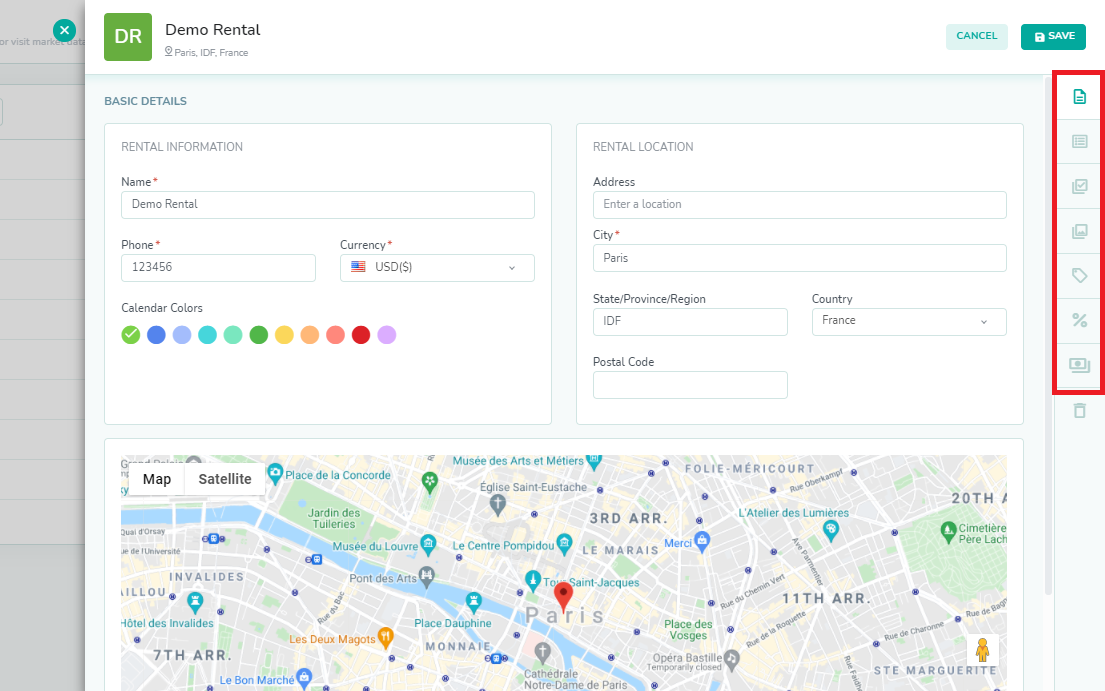
- Fill in the required information on Rental Creation drawer and click on the Save button.
The Rental is created now and available in the list of Rentals in Rategenie.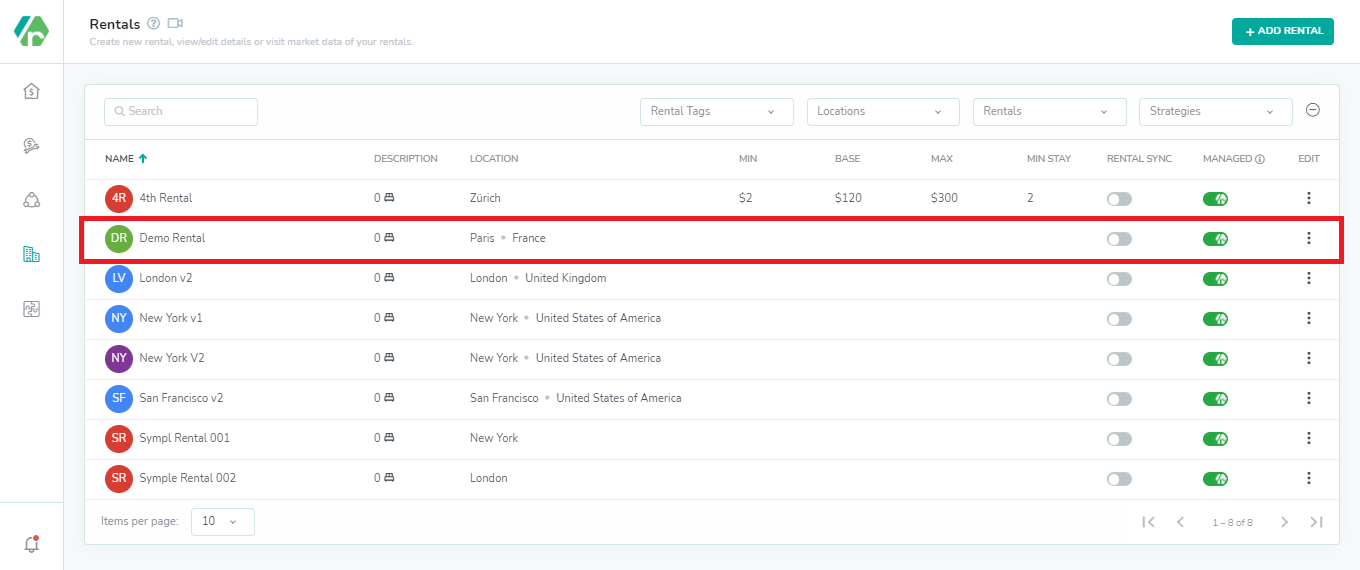
The Rental is also visible on the Rates Calendar.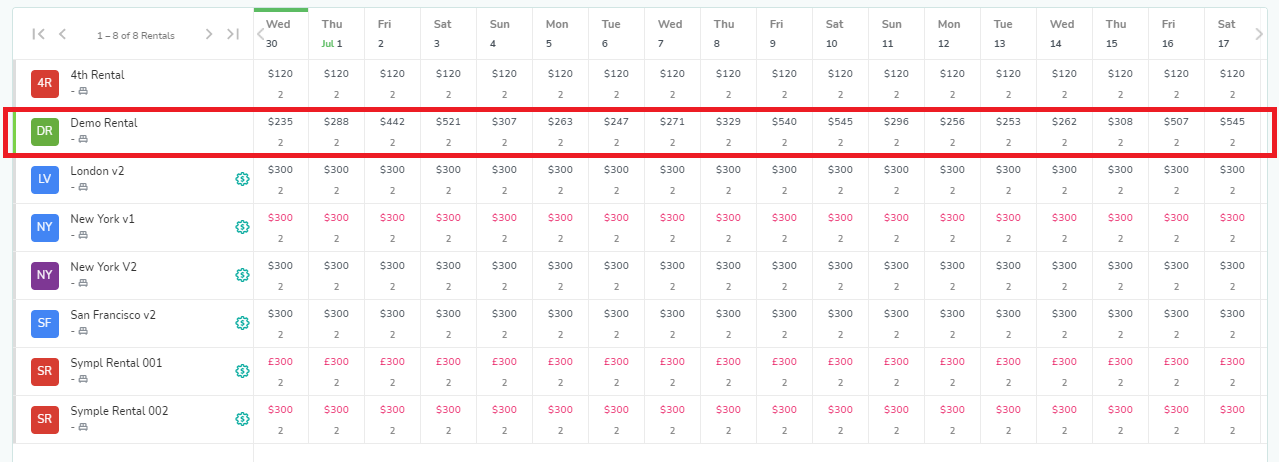
To edit the rental, follow the steps below.
- Click on three dots present in front of the Rental name.
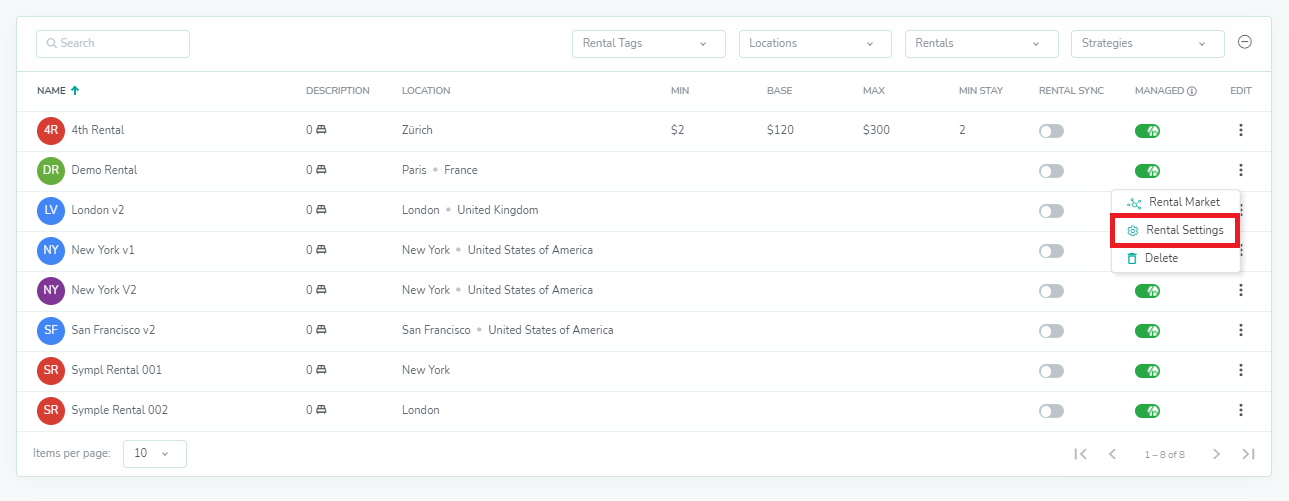
- Select “Rental Settings” from the drop down.
- Update the fields you want to change and click Save.
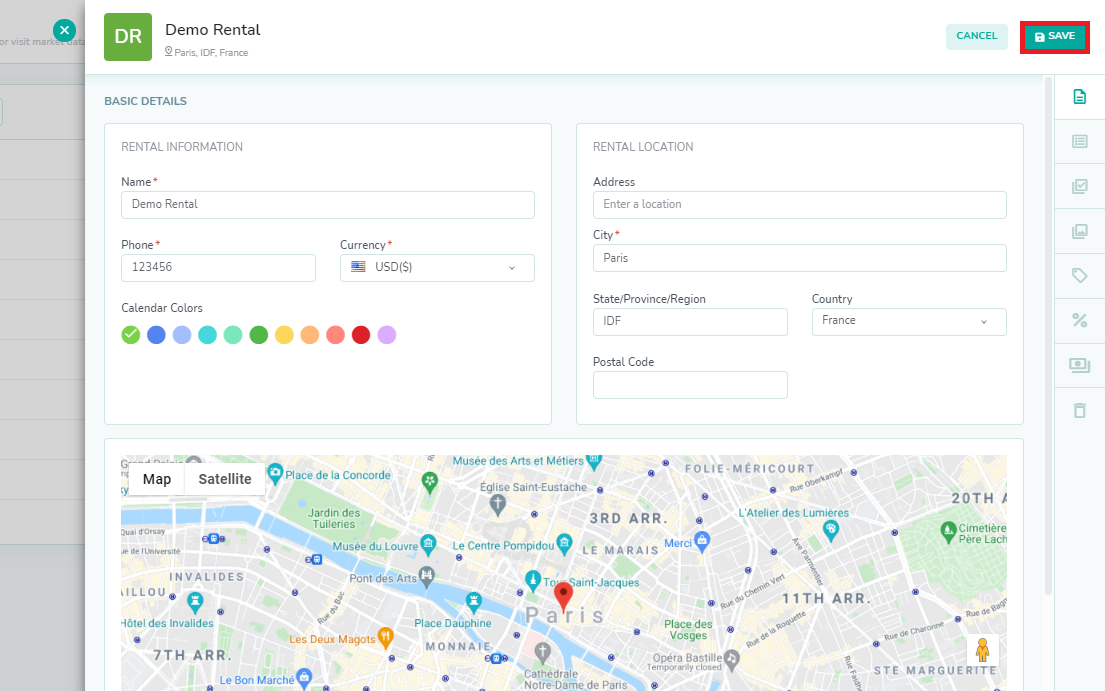
- You can also now add images, tax, fees, tags and amenities within Rategenie and update max sleep, min sleep settings. To achieve that, simply navigate the different tabs available in Rental Settings and add/update desired settings.
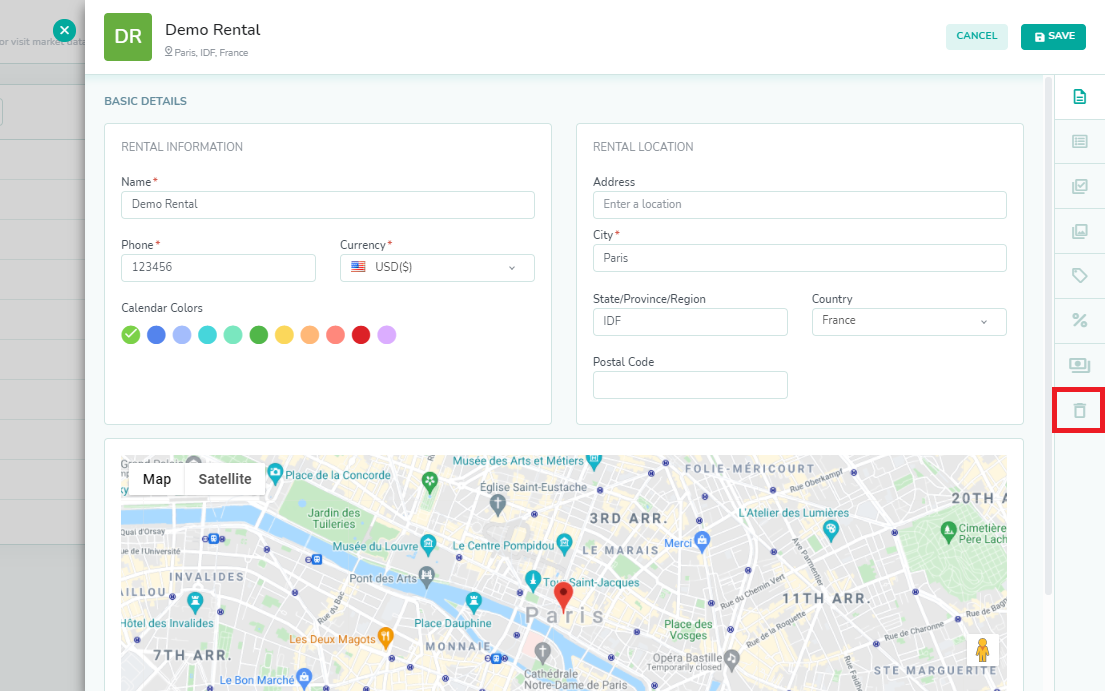
- To Delete the Rental through Rategenie, Click on the Delete icon present on the Rental Settings page.
 Or go to edit drop down on the Rentals list and select Delete.
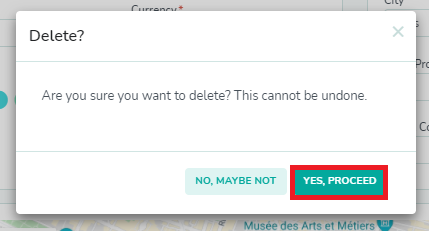
- Confirm the pop-up by clicking ‘YES, PROCEED’ and rental will be deleted.
As always, please contact us with questions any time. We're happy to help.